Essential Checklist for Preparing a Site Before a Commercial Photography Shoot
Have you ever invested in a commercial photoshoot for your commercial property, only to find the images failed to generate enough enquiries to justify the cost?
You’re not alone.
Across Australia, many developers, agents and property marketers face the same frustration when impressive specialty property listings fall short of generating sufficient interest in them just because the site wasn’t prepared properly before the shoot.
Without proper preparation, even the most experienced photographers may struggle to capture the property effectively.
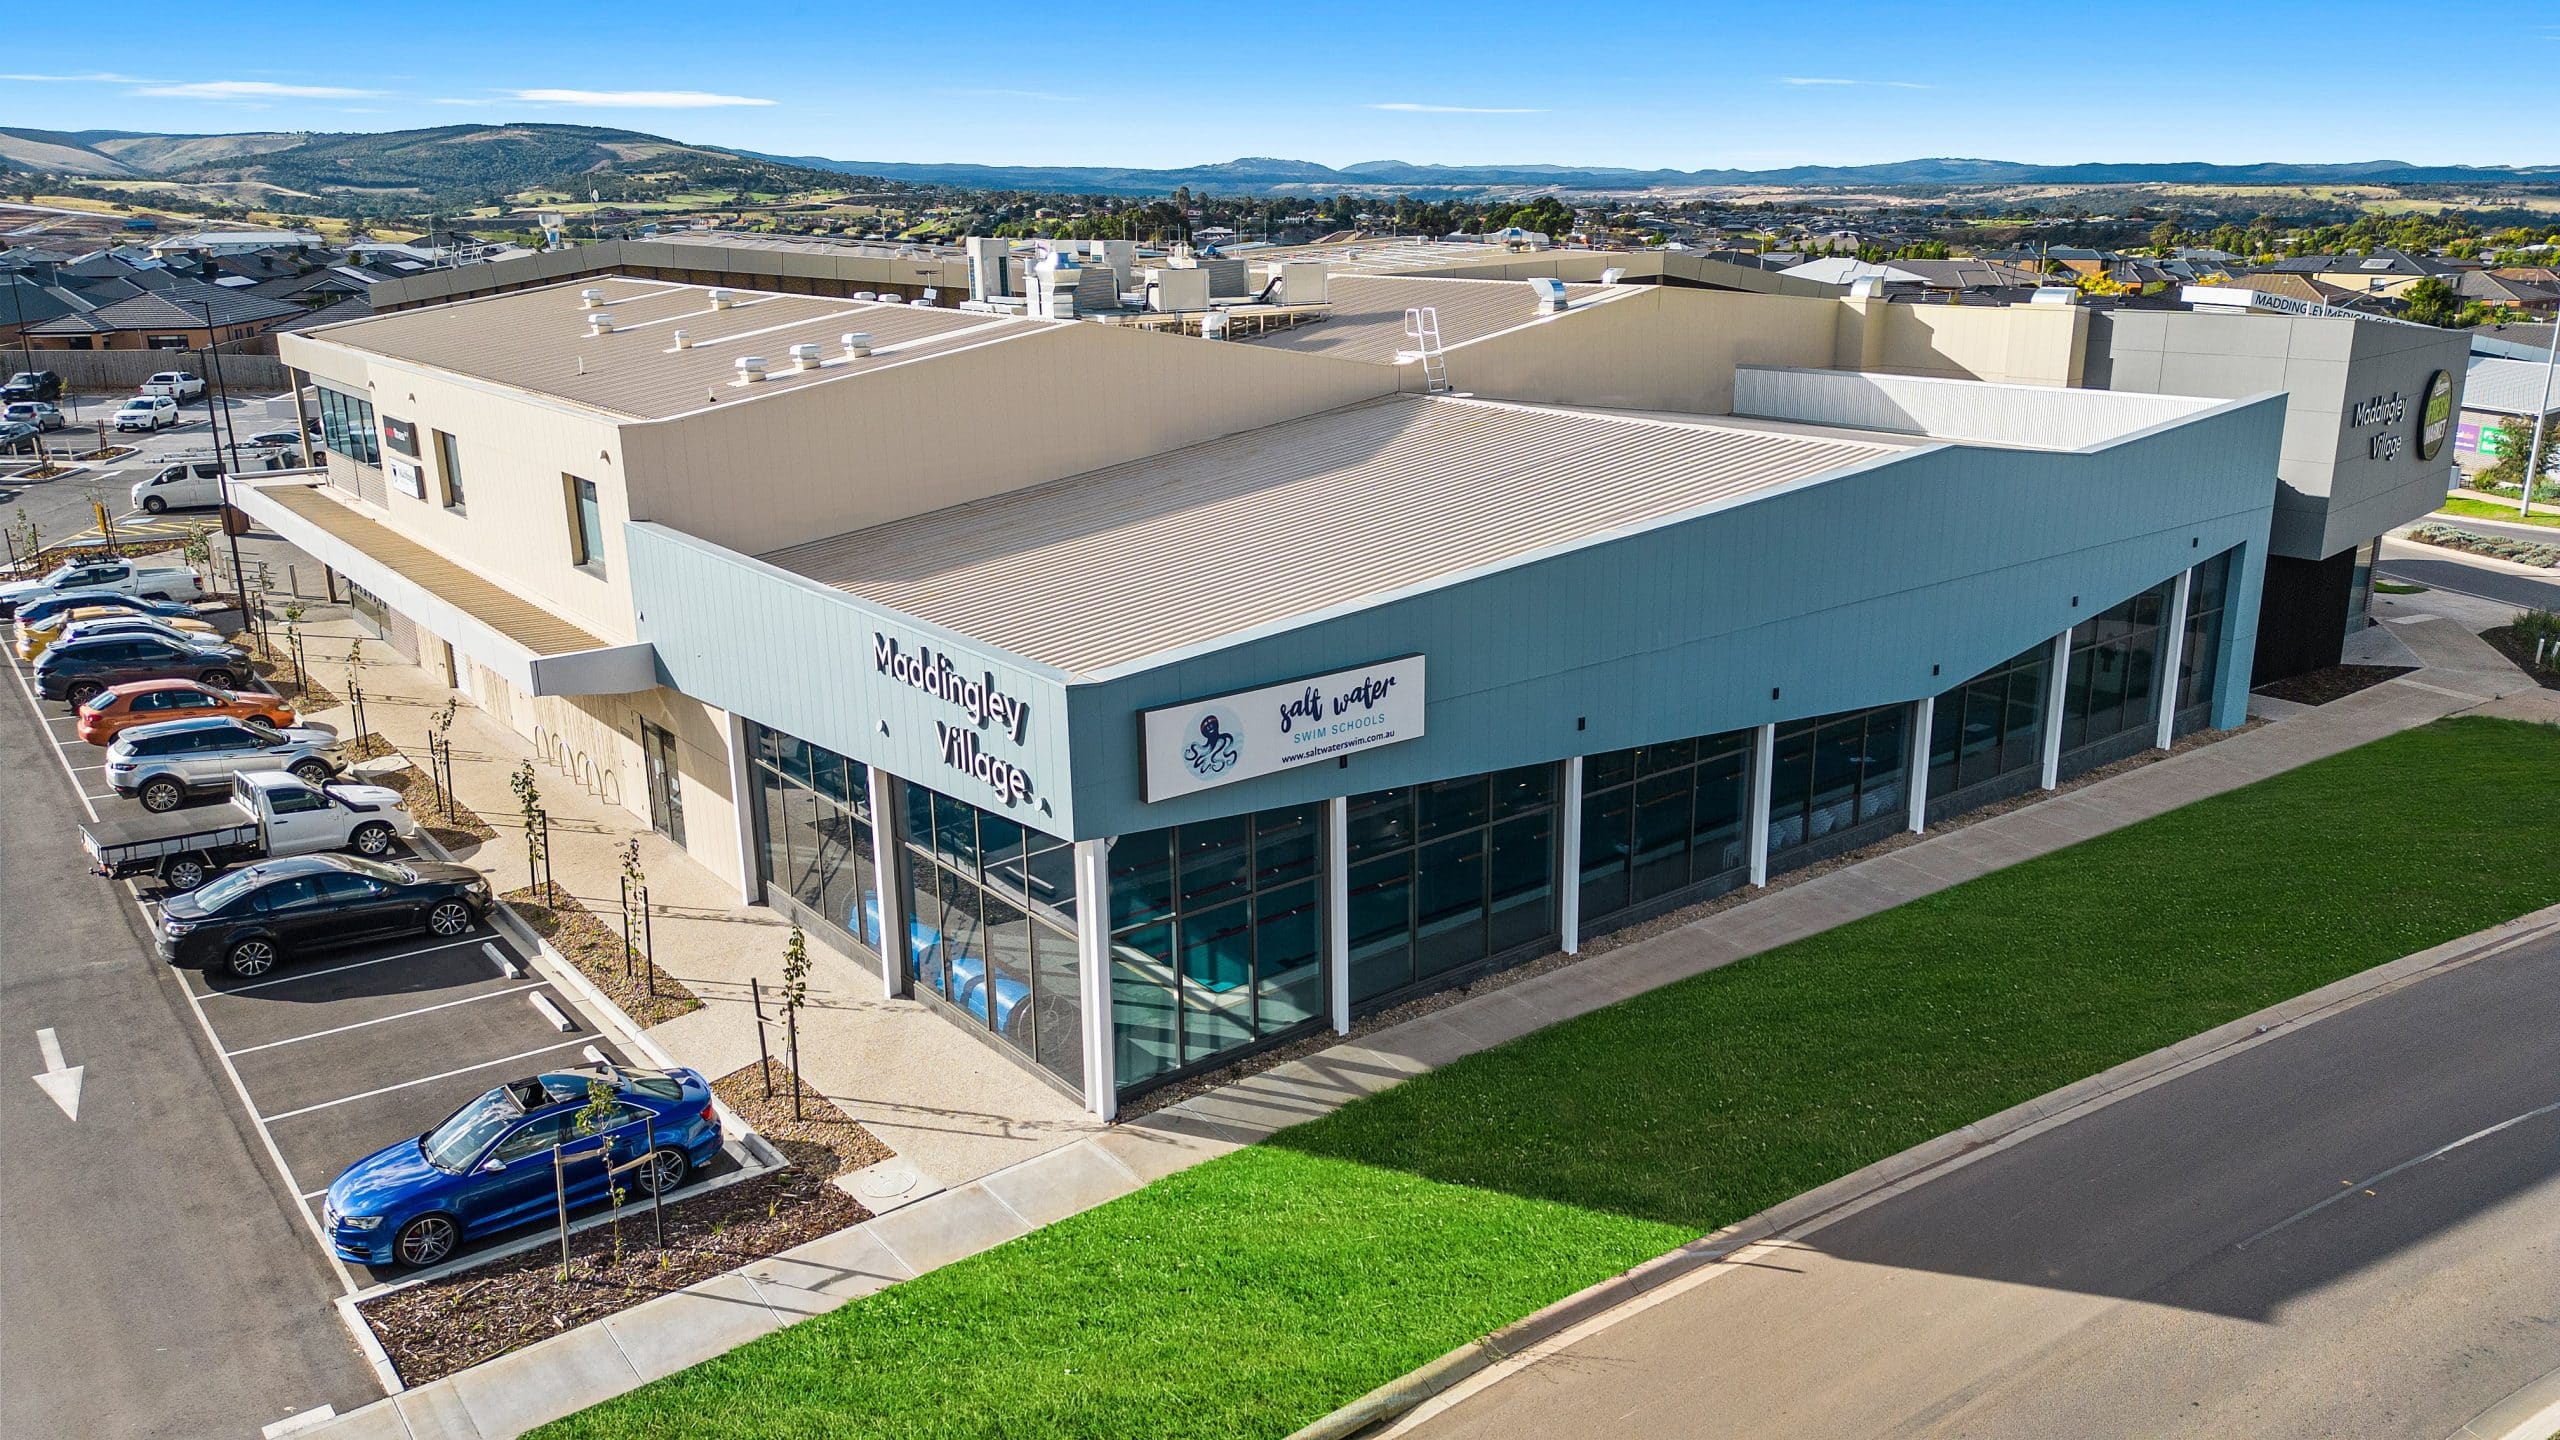
In today’s competitive commercial property market, the digital storefront is paramount. Reports from global commercial real estate leaders like JLL and CBRE consistently highlight the industry’s shift to digital-first decision-making. Prospective buyers and investors now vet properties extensively online long before an in-person visit, making high-quality visuals critical to your listing’s success.
Preparing your site before a shoot not only increases the property’s appeal but also ensures efficient use of time and budget, impacting commercial photography pricing positively.
In this blog, we have prepared a clear checklist that will help you make your commercial property ready for a photography session. You’ll learn how to declutter, stage, use good lighting, and plan the shoot so your property looks its best in every photo.
Table of Contents
Clear the Space and Declutter
An organised space forms the foundation for professional imagery. Clutter can distract viewers. And it also reduces the impact of your images.
Here are some tips for decluttering:
- Remove unnecessary furniture, equipment, and personal items
- Keep desks, counters, and communal areas tidy
- Store personal belongings to create a neutral, welcoming environment
Decluttering also prevents excessive editing during post-production. It helps in controlling commercial photography pricing while presenting the property in the best light.
Read More: 5 Tips To Consider When Choosing An Event Photographer In Melbourne
Maximise Lighting for Optimal Photos
Lighting plays an important part in commercial property photography. Natural light is always preferred, but interior lighting should complement it to avoid shadows or uneven tones.
Important lighting checklist:
- Open curtains and blinds. They maximise daylight.
- Replace burnt-out bulbs and ensure all lights work.
- Use lamps or diffusers. They soften harsh lighting.
Focus on good lighting. It gives crisp and vibrant images that attract potential buyers or investors.
Highlight Key Features
Properties often have unique selling points that attract prospective clients. Identifying and showcasing these areas ensures your photographer captures the property’s value.
Ways to highlight features:
- Arrange furniture to accentuate spaciousness
- Prepare communal areas like kitchens and meeting rooms
- Ensure branding or signage is visible if relevant
Focusing on key features helps potential clients visualise the space, improving engagement and the perceived value of your property.
Ensure Site Access and Logistics
Large commercial properties often require careful planning to avoid delays. Ensuring photographers have smooth access is crucial, especially when aerial or drone photography is part of the shoot.
Site access tips:
- Schedule shoots during low-traffic periods
- Confirm parking, elevators, and loading dock access
- Communicate restricted areas in advance
- Arrange drone permits if aerial photography is needed, following local regulations and CASA (Civil Aviation Safety Authority) guidelines
Proper planning reduces shoot interruptions, ensures safety, and helps manage commercial photography pricing efficiently. Including drone planning in advance allows photographers to capture striking aerial perspectives without legal or operational delays.
Must Read: Real Estate Photography: What’s Included in a Shoot?
Stage the Environment
Even minimal staging can elevate images significantly. Well-staged spaces allow prospective clients to envision themselves in the property.
Staging tips:
- Add plants, artwork, or neutral décor
- Reposition furniture to create inviting layouts
- Use symmetry for balanced compositions
Staging maximises visual appeal, enhancing the marketability of your commercial property.
Check Technical Details
Before the photographer arrives, ensure all technical elements are in place to avoid disruptions.
Technical checklist:
- Test internet connections for virtual tours
- Confirm the power supply for photography equipment
- Identify safety hazards to prevent delays
Addressing technical aspects in advance ensures a smooth shoot and high-quality results.
Communicate Your Vision
Sharing your goals with the photographer ensures images align with your marketing strategy.
Communication tips:
- Provide a shot list of priority areas
- Share branding guidelines if needed
- IDiscuss timelines and deadlines for edited images
Clear communication helps capture the property’s strengths and supports your overall marketing objectives.
Conclusion
Preparing a commercial property for a photography shoot doesn’t have to be difficult. With the right preparation, property developers and office space marketers can make sure the shoot runs smoothly, captures key features, and results in high-quality images that attract the right audience.
Taking these steps not only improves the outcome but can also help you get the most value from your commercial photography pricing.
At Perfect Property Media, we specialise in making commercial properties look their absolute best. Meet our team, who works with you to highlight the unique features of your space and deliver professional imagery. We are known for capturing images that support your marketing goals.
Contact Perfect Property Media to schedule your commercial property photography session and receive a tailored quote.